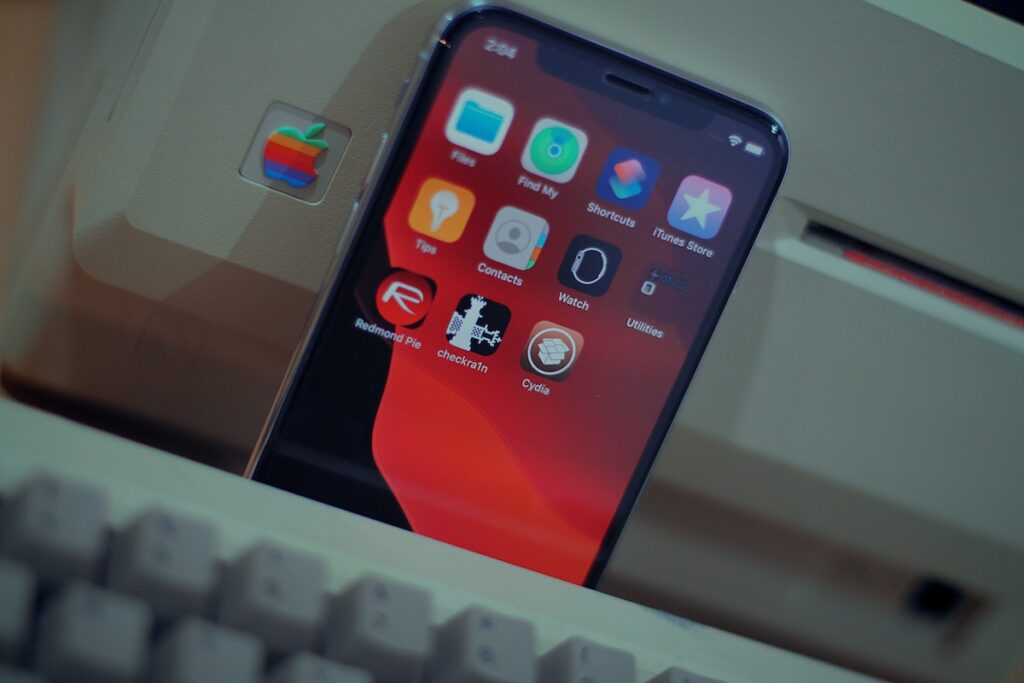
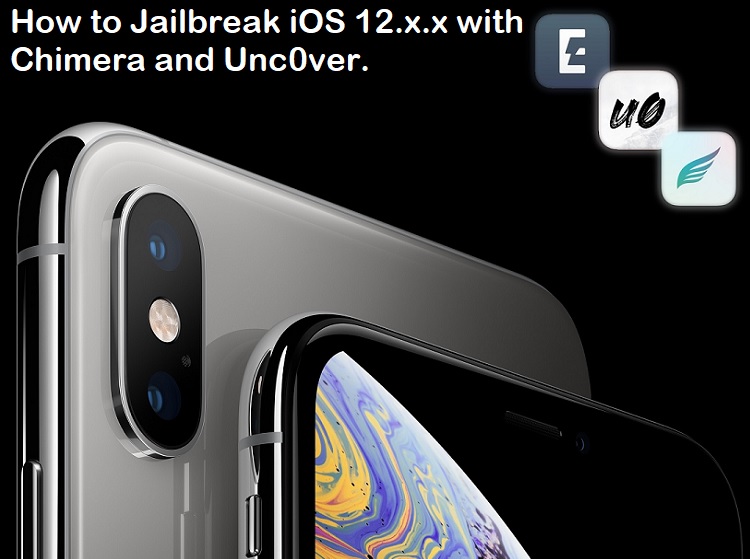
If you are not living under a rock, then you must be known that there are two active iOS 12 Jailbreak for iPhone, iPad, and iPod touch devices are available in iOS-Jailbreak community and by using the word “active” means that the iOS-Jailbreakers are updating these two iOS 12 Jailbreak Tools on regular basis for compatibility, optimization, and fixes. The name of the two active iOS 12 Jailbreak Software are i.e. Chimera and Unc0ver. The Chimera iOS 12 Jailbreak tool is developed by “Electra” team and its fully functional and stable tool with Sileo tweaks and apps support. Whereas, the Unc0ver iOS 12 Jailbreak tool is developed by “Pwn20wnd” team with exclusive endorsement of “Saurik” that is why it officially support Cydia tweaks and apps by default. Which means iOS-jailbreak community members have more than one choice to Jailbreak iOS 12.x.x Firmware versions. As we have already covered Electra iOS 11 Jailbreak guide before on our website that is why we are not covering Electra Jailbreak tool in this post again. For Apple iOS-device and tvOS-device users we are sharing the detailed guide and tutorial on How to Jailbreak iOS 12.5.3 Firmware with Chimera and Unc0ver Jailbreak on iPhone, iPad, and iPod touch devices with official direct download links.
How to Jailbreak iOS 12.5.3 with Chimera Tool?
The Chimera iOS 12 Jailbreak is also developed by team “Electra” and it supports semi-tethered jailbreak, which means you will need to perform jailbreak process again after you restart your iOS device. The Chimera iOS 12 Jailbreak support almost all iOS 12 Versions from iOS 12 to iOS 12.5.3 as of now and it also support tvOS 12 Jailbreak as well for Apple TV devices and the supported software versions are from tvOS 12 to tvOS 12.4.
How to Install Sileo with Chimera after iOS 12.5.3 Jailbreak?
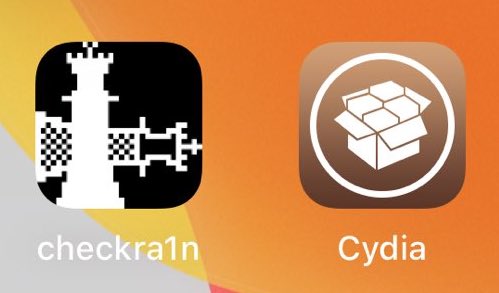
The Chimera iOS 12 Jailbreak doesn’t support Cydia installation by default instead it exclusively supports Sileo tweaks and apps because it uses Substitute (a Cydia Substrate alternative) for tweak injection.
How to Jailbreak iOS 12.5.3 with Unc0ver Tool?
On the other side, the Unc0ver iOS 12 Jailbreak is developed by team “Pwn20wnd” with the support of “Sam Bingner” and it’s also a semi-tethered jailbreak and its compatible with almost all iOS 12 Firmware and as well as iOS 11 Firmware from iOS 11 upto iOS 12.5.3 updates. The only issue with this iOS 12 Jailbreak and iOS 11 Jailbreak is that A12(X) chip based iOS devices are “partially supported”, which means SSH should be used other than full-fledged package manager by using tweak injection. This tool doesn’t support tvOS 12 Jailbreak for Apple TV as of now.
How to Install Cydia with Unc0ver after iOS 12.5.3 Jailbreak?
Unlike Chimera, the Unc0ver iOS 12 Jailbreak does support Cydia Installation and Cydia Tweaks and Apps support by default and it’s officially not support Sileo installation. The Unc0ver Jailbreak tool is using Cydia Substrate for tweak injection as it’s a only jailbreak tool endorsed by “Saurik”. You can expect to see the official support for A12(X) chip devices for Sileo Substitute soon.
Download Chimera iOS 12.5.3 Jailbreak for iOS and tvOS Devices:
- Download Chimera .IPA iOS Jailbreak Tool (support upto iOS 12.5.3)
- Download Chimera .IPA tvOS Jailbreak Tool (support upto tvOS 12.4)
Download Unc0ver iOS 12.5.3 Jailbreak for iOS Devices:
- Download Unc0ver .IPA iOS Jailbreak Tool (compatible upto iOS 12.5.3)
Compatible iOS and tvOS Devices for Chimera Jailbreak:
All iPhone, iPad, and iPod touch devices are compatible with Chimera iOS 12 Jailbreak tool including A12(X) chip based devices with iOS firmware installed upto iOS 12.5.3 version.
All Apple TV 4 devices are compatible with Chimera tvOS 12 Jailbreak tool including A12(X) chip based devices with tvOS firmware installed upto tvOS 12.4 version.
Supported iOS Devices for Unc0ver Jailbreak:
All iPhone, iPad, and iPod touch devices are compatible with Unc0ver iOS 12 Jailbreak tool including A12(X) chip based devices with iOS firmware installed upto iOS 12.5.3 update.
Tutorial and Guide to Jailbreak iOS 12.5.3 with Chimera and Unc0ver Tools:
The iOS 12 Jailbreaking and installation process for both Chimera and Unc0ver software are same as you just need to have respective installation file which you have already got through above mentioned direct official links and you also need to have Cydia Impactor Tool installed on your Windows, Mac, or Linux computers or laptops which you can also download from our website as well. So let’s get started the working guide and tutorial:
- Step # 1: Download the respective jailbreak tool installation file on your PC.
- Step # 2: Download, install, and open the Cydia Impactor Tool on your PC.
- Step # 3: Connect your iPhone, iPad, or iPod touch with computer through MFi-certified lightning cable.
- Step # 4: Press, hold and drag the respective chimera.ipa or unc0ver.ipa file over the Cydia Impactor window.
- Step # 5: When prompted, sign in with your Apple ID.
- Step # 6: Now Cydia Impactor will side-load the respective unc0ver or chimera jailbreak app on your iOS device.
- Step # 7: Once jailbreak app gets side-loaded. Navigate to Settings >> General >> Profiles & Device Management and tap on your Apple ID.
- Step # 8: Here tap on the Trust button in blue color, and then press on the Trust button in red color on popup window when appears.
- Step # 9: Now disable all kinds of Passcodes/Passwords/Face ID/Touch ID/Siri, Enable Airplane Mode and reboot your device to make sure the app works 100%.
- Step # 10: On your iOS device home screen, tap on respective Unc0ver or Chimera app icon.
- Step # 11: Here you can press the “Jailbreak“ button to start iOS 12 Jailbreaking.
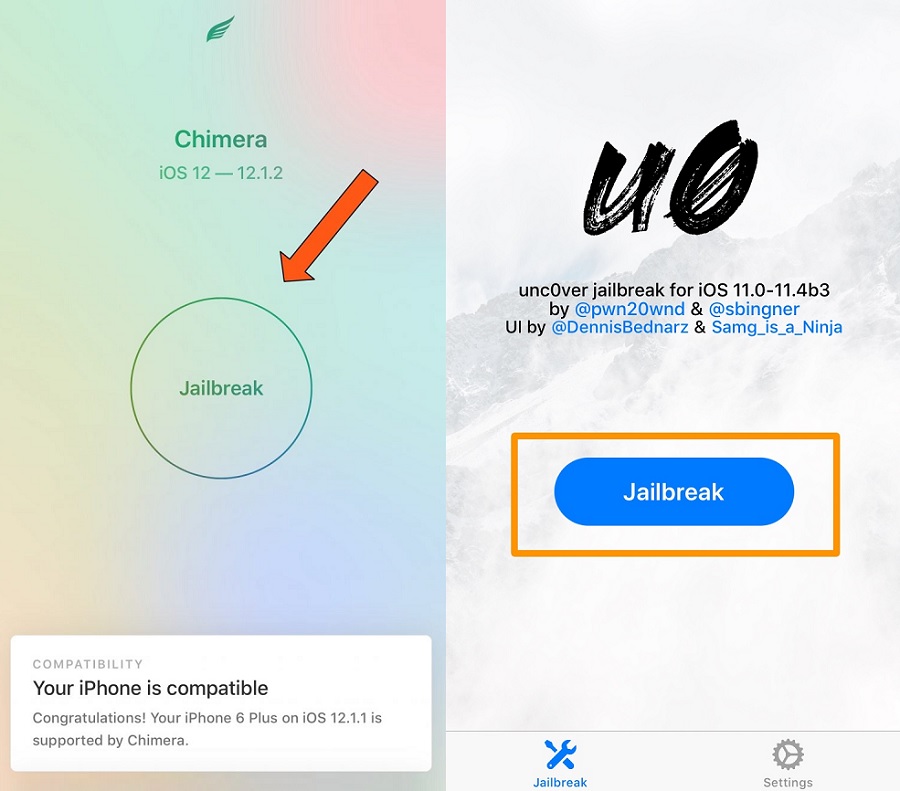
- Step # 12: After completion of process, you will see the respective Cydia app or Sileo app of respective Unc0ver or Chimera jailbreak tool on your home screen.
Note: Just in case you don’t see Cydia or Sileo app on home screen, you can re-launch the respective jailbreak app after rebooting your device again. Congratulations!! You have iOS 12.5.3 Jailbroken device.